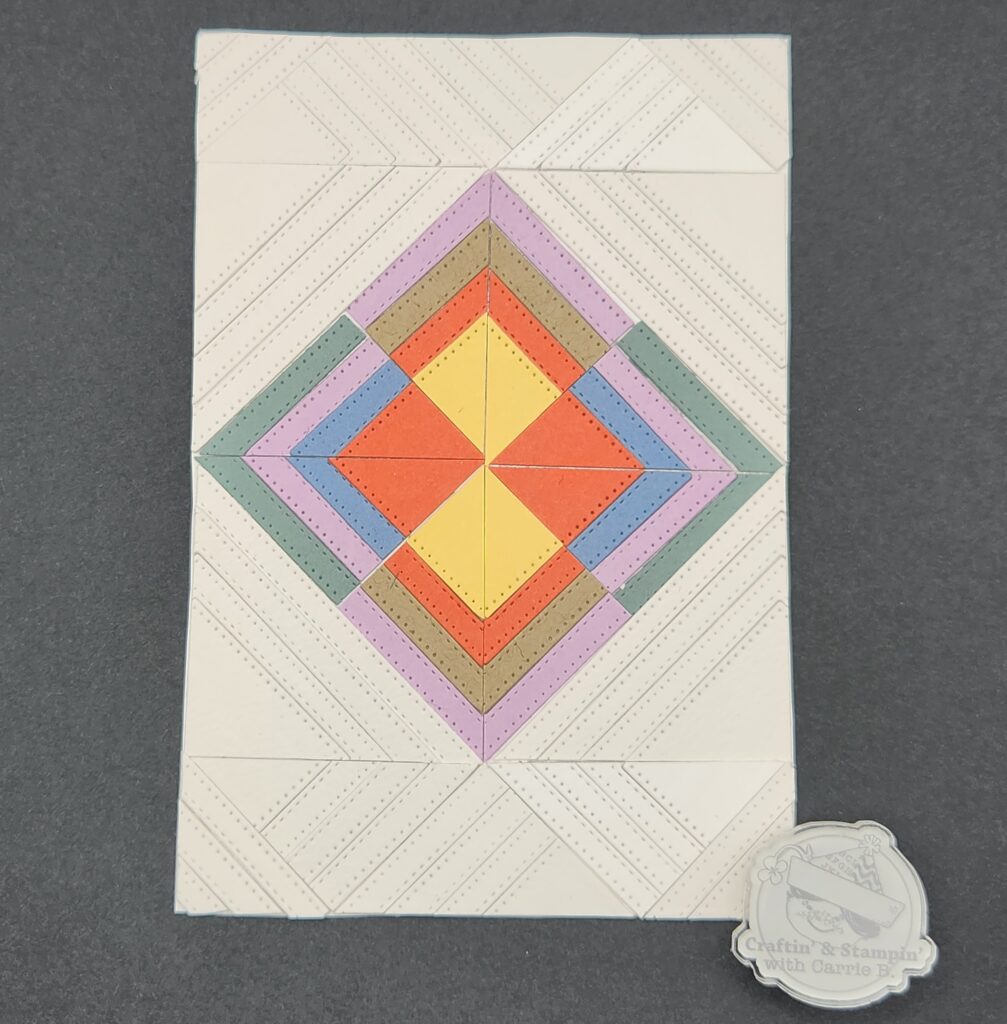
Make Your Own Geometric Paper Quilts

Geometric patterns are a universally enjoyed design motif. All cultures have them and their symmetry is what makes them so pleasing. Creating a geometric pattern of your own is simple. You can waste an entire afternoon moving the elements around to create endless designs. With any color paper that you have, nesting dies and a paper trimmer you can assemble an array of designs to play with. Watch as anyone who walks past your craft table jumps in to join in the fun of arranging designs.
Tips
- To make sure you don’t lose any little corners in the trimming process, make sure your squares have washi tape out to all the corners. Maybe even try mod podging them to tissue before trimming.
- Your paper trimmer blade should be very sharp. Each blade has 2 edges -You can even flip it to refresh it one time.
- Washi tape is integral to keeping the paper squares together during the trimming process. Admittedly, it uses quite a bit of washi tape. But, if you’re like me you always have too much washi tape! And because it is so thin it doesn’t harm the smoothness of the design once hidden underneath.
Video Tutorial
The trick to this technique is to create a die frame that stays in place so your edges are always straight. Using Washi tape, the square dies are secured in place on a paper framework. This template can be used over and over to cut with. (I cover it in my video short below).
