Fun, Experimental and Cost-Effective
Many times tools are only marketed as being used for one application but, the creative mind is always looking for ways to find the right tool for the project. After all, a craftsman is only as good as his tools! How many times have you needed a tool and gone over to your toolbox in search of something that would work for what you were trying to do? It’s more common than buying a new tool each time you have a need. Necessity is the mother of invention and that is how I arrived at this handy list of tools that work well for polymer clay projects, too!
- The burnishing nib of dotting styluses like used in rock painting is perfect for poking holes into clay in preparation for jewelry applications. The ball on the end creates a wide hole with clean edges and is faster than using a simple needle tool.
- X-Acto blades even when dull and can be useful in cutting freeform shapes from clay slabs.
- Simple geometric craft dies can be used as cutting guides with a craft knife. Stick with the basics for best results.
- I acrylic stamp blocks of all sizes to roll even snakes of clay that can be used to make freeform swirly designs or in the manufacture of millefiori canes. Just using your hands can create ridges and inconsistent canes of clay that are harder to work with. Rolling clay under an acrylic block puts even pressure and provides a consistent surface on the clay snake to make it uniform along its length.
- Use to emboss clay slabs with a design or roll balls of clay over them to create textured beads.
- Stamp clay slabs and bake. Then, burnish with inks to highlight the designs. Choosing stamps with well defined lines and patterns work best. Avoid stamps that are designed to be photorealistic as the images will be blurry and hard to make out on clay.
- Use black Staz-On ink to highlight embossed and stamped designs on clay. Sand away to leave it in the recesses like the image to the left.
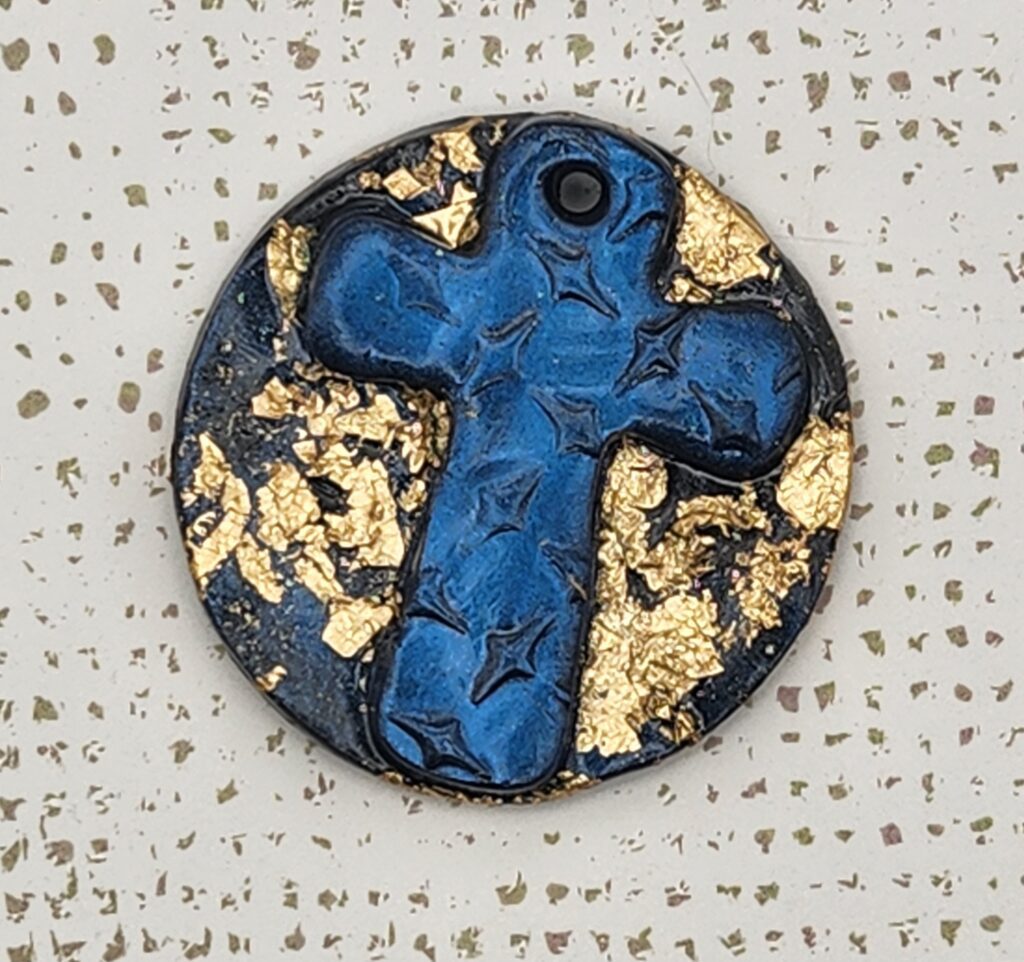
- Work foil leafing into clay before rolling out and stamping or cutting or use it as a treatment after clay is baked and before glazing. The cross below was treated with foil leafing before baking then glazed with a polymer clay medium.
TIP: Make sure you wash tools off with soap and water before using for paper projects as the polymer clay’s oil may leave a residue that marks paper or damages inks.
I hope these suggestions have given you some inspiration and guidance! If you have questions about the techniques I have discussed or polymer clay and stamping in general, please don’t hesitate to reach out to me.