How Do I know Which One To Use?
With so many options for adhesives available, how do you know where to start? If you’re new to crafting then maybe plain white glue is your first choice. While it’s a fine place to start there are many more sophisticated options for a variety of applications.
A simple search for ‘Adhesives’ when shopping on Stampin’ Up’s website produces many results. Here I will cover four of my favorite options and why I use them
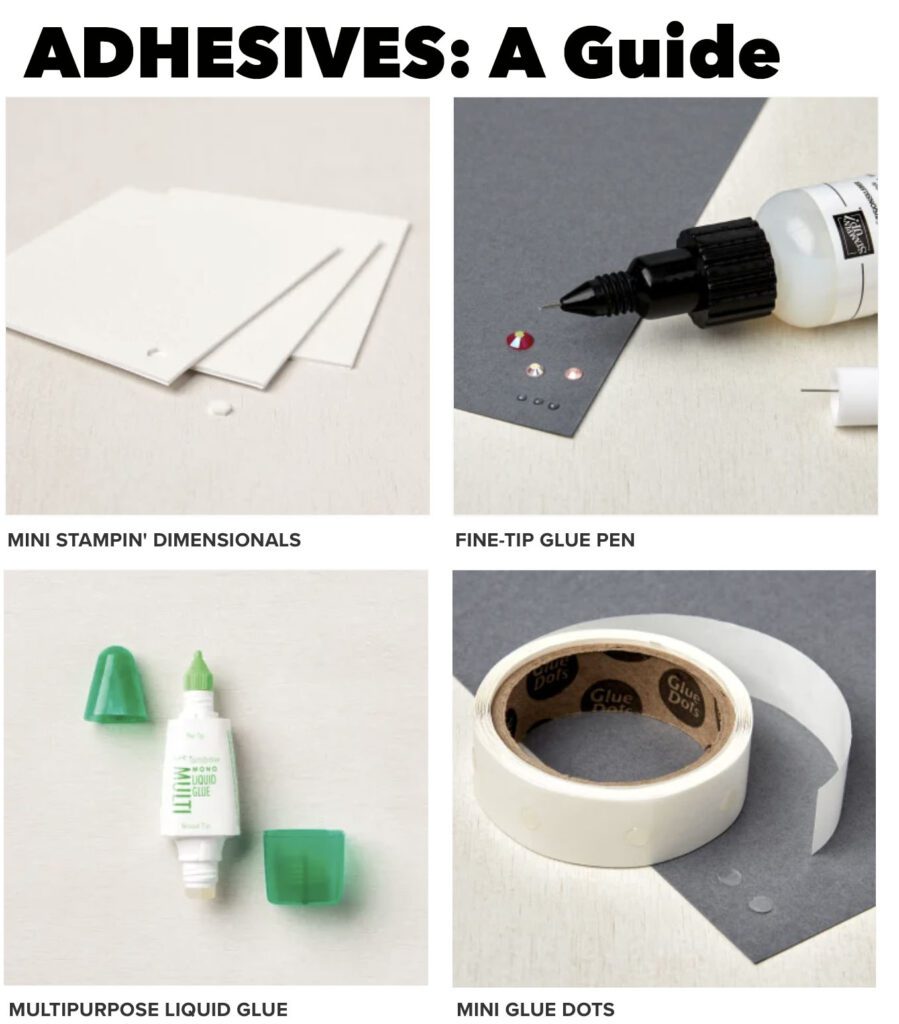
Tombow Liquid Glue
A thick, white glue that dries clear. It’s probably the first choice of most new shoppers. It has a dual-ended applicator )one for fine-tip and the other for spreading on larger areas). Controlling this glue is easy because we’ve all been conditioned to use white glue in school (and maybe into our early crafting endeavors).
TIP – Tombow liquid glue has a high moisture content and if you use too much it can cause paper rippling that is visible on a card front(not to mention increasing dry time). If you accidentally use too much, simply tear a small corner scrap of paper and use it like a butter knife to spread the Tombow and remove excess glue. Always use a cover on your work surface to limit messes on your work area.
Foam Adhesive Dots
Foam dots give your card components a lift. I use these a lot with hand-colored and cut pieces . They’re about 1/8″ thick and so they don’t interfere with inserting a card into an envelope.
TIP – Adding dimension to a card may increase the thickness and cost when mailing via USPS. Always plan on using a padded envelope and a little extra postage when mailing card designs that you have used foam dots on.
Glue Dots
Glue Dots are perfect for precision applications. In my Sweater Weather card tutorial on Youtube I used Glue Dots to adhere the words to the card front. I hid the dots behind the letters after the letters were applied to acetate sheets.
TIP: Glue dots work best when applied with a tool .
Beyond These
In summation, these are a mere sampling of the adhesives available to you. As long as you continue to experiment with what works for you, the perfect solution will become apparent quickly. Don’t stop trying out new tools to expand your repertoire and watch as you get better and better at your craft!
I’m Carrie B., a crafter serving the areas of Green Valley, Sahuarita & Tucson, AZ. I love crafting. I hope you will subscribe to my monthly newsletter to receive news on my current projects and a free project printable direct to your inbox!