Whether you need a birthday card from a group or maybe a retirement card for one of your coworkers, this DIY design will be accommodating at collecting a lot of signatures to celebrate with in style.
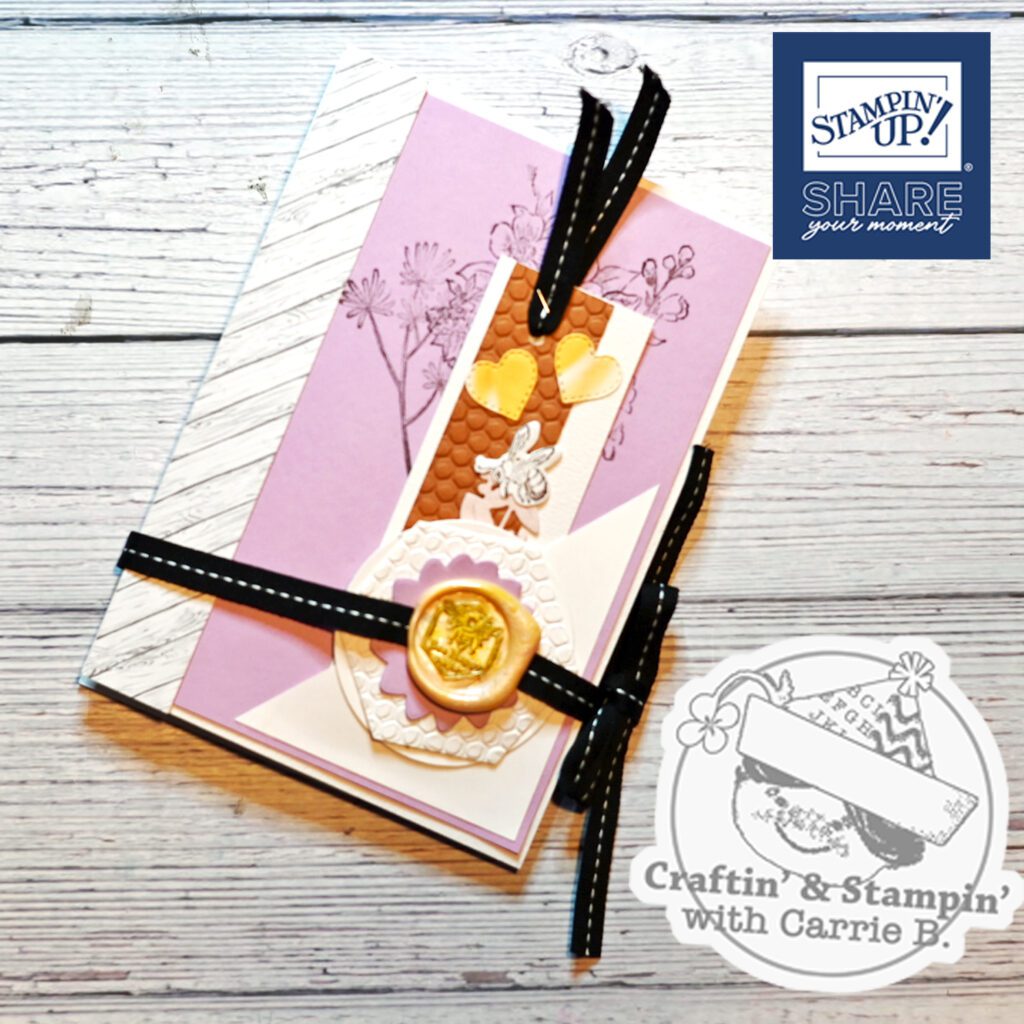
Choose any theme you like. Is it masculine, feminine, monochromatic or built around the latest suite of Stampin’ Up products you received? Use scraps or found objects and make it fun. The design featured here uses the Heart & Home Suite of products. Some elements are Honeybee Home. Visit my Stampin’ Up portal for the project shopping list.
Tools & Supplies
- TOOLS: Trimmer/Scorer and Double-sided tape for book construction. Glue.
- COVERS: 2 pieces 5″ x 7″ Cardstock
- ACCORDION: Use double-sided tape and don’t be skimpy at the seams. Tape will lay flat and avoid ripples. 1 white (or light colored) piece of 12″ x 12″ cardstock. Cut it in half then, score each half at: 1″, 5″, 9″. (This will give you panels that are: 3″, 4″, 4″ and 1″. Tape the 3″ panels together in such a way as they form a 4″ panel. The seams will look weird but, you will tape another panel over each side to hide, reinforce & make a smooth surface for writing. This will form your interior autograph accordion.
- COVER>ACCORDION SEAM REINFORCEMENT: Reinforce the 1″ attached to the cover the same way with a piece of DSP 4.25″ x 6.25″. Use that double-sided tape liberally.
- ACCORDION MIDDLE REINFORCEMENT: 2 pieces white or light-colored cardstock or DSP 4″ x 6″ (or a bit smaller) for middle seam coverage & reinforcing.
- POCKET OPTION: If you want pockets to slip a bookmark or gift card into: A rectangle of cardstock 3″ X 5′” cut diagonally (corner to corner) to make a triangle. Place anywhere on either cover you like. It’s a little too heavy for the accordion.
- EMBELLISH: Decorative elements like die cuts, stamped images, sentiments, scraps of your favorite DSP or cardstock in coordinating colors.
- TIE CLOSURE: Ribbon or elastic cord 24″ long to make a tie bow wrap closure.
Tips:
- To attach to the covers: Make a sandwich of your elements by stacking them in order and see where the accordion rests on the inside of the cover. This is where you will attach the accordion. The covers will “float” and are not like a traditional folded card with a binding edge.
- Make the Tie closure before embellishing (even if it seems too soon). Tie the ribbon around the card and tie it in a nice firm but not tight bow. Then, glue your ribbon to the cover. After it dries you can untie, leaving the ends free for embellishing. Or If you prefer elastic, create a loop and glue the ends down to the cover and secure with die cuts, paper elements or hot glue a button to wrap it around. Decorate over the ribbon to further reinforce it and finish the cover the way you want.
- Use your scrap bits to reinforce the joints where papers meet with scraps and decorative elements. Decorate the pages sparsely to leave room for signatures. Just the corners or very sparingly as the space allows.