Tips for Using the Stampin’ Up Mini Stampin’ Cut & Emboss Machine and Beyond
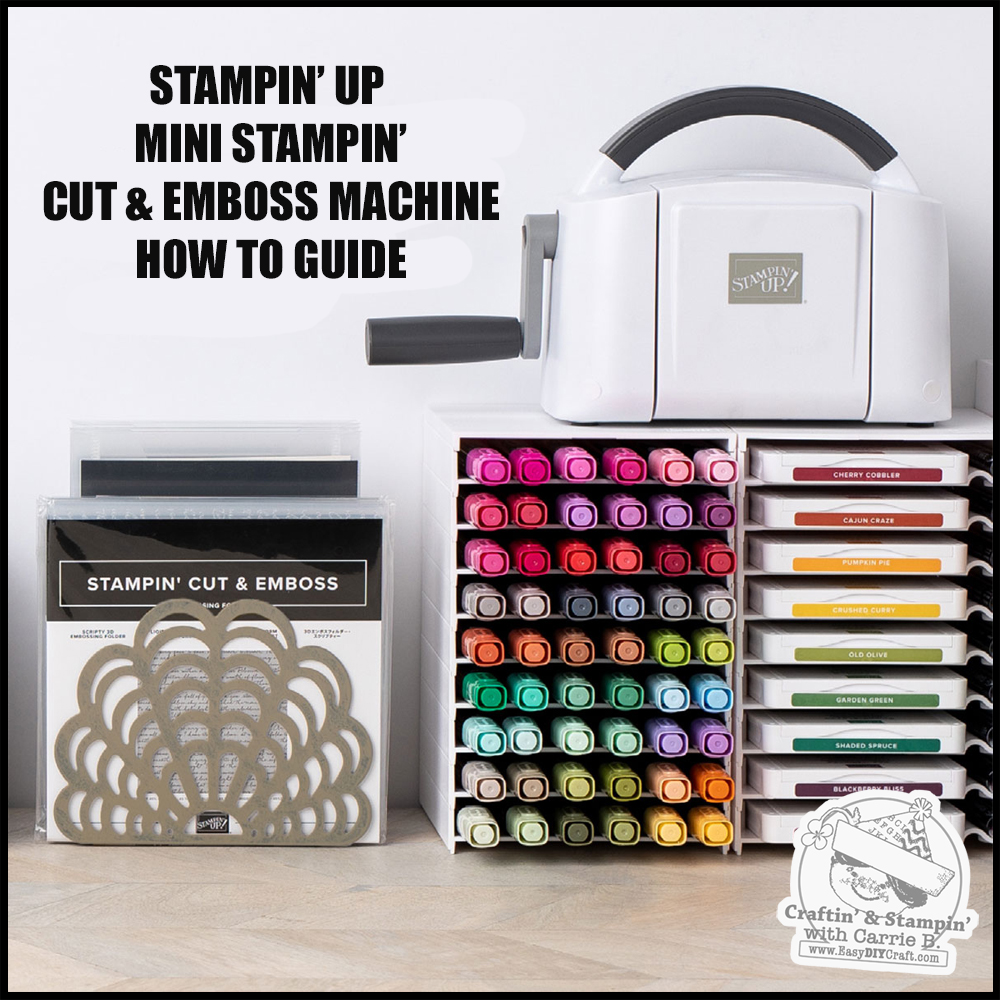
I really love die cutting! Recently I nabbed a mini embossing machine and I was really impressed with its efficiency despite its diminutive size. There is a slight learning curve when using this machine (snd it’s traditional white counterpart) so, I want to share some tips that I’ve picked up along the way that have given me lots of success with embossing & die cutting with this small wonder as well as other machines of various sizes.
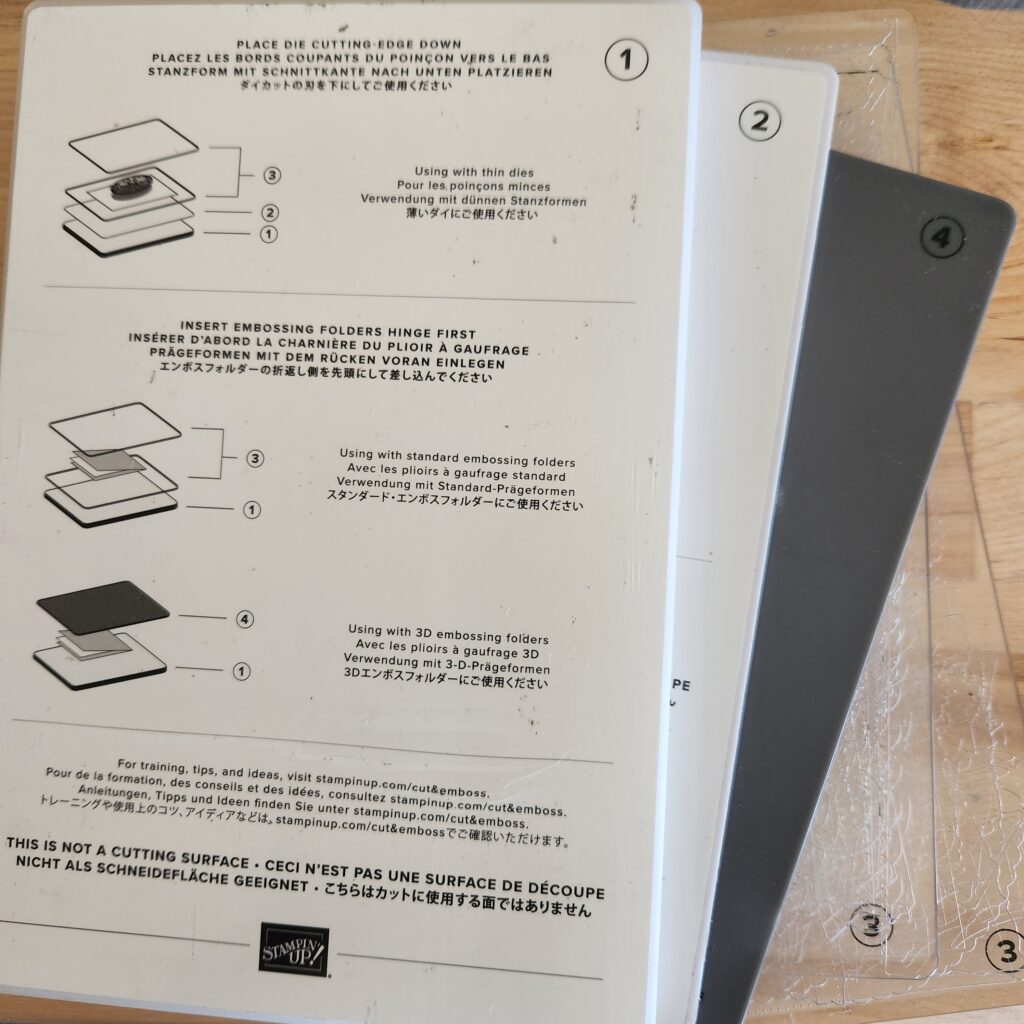
Platform “Sandwiches”: A How To
A “Sandwich” is just a fun way of describing the layering of the various embossing plates that come with every embossing machine, no matter the brand. Typically you will have two acrylic plates that the dies/paper or embossing folder/paper sandwich between followed by two other acrylic “shims” that make up the negative space leftover after the initial “sandwich” is created. When the sandwich is cranked through the machine using the lever, a “snap!” will be heard that signifies the die has cut through the paper to the plate below it and that the cut was likely successful. If I doubt, reverse the cranking motion to run it through again but, don’t despair if you don’t hear the snap. A successful cut may still have been achieved.
Flip Your Plates
A simple and effective way to get more life out of your cutting plates is to flip them over with each use. Try running them in different ways to help spread pressure evenly over their lifetime. Even someone who cares a lot for their plates may find new plates are needed after a few years with heavy use.
TIP: Try different combinations of plate sandwiches.If you can’t achieve the pressure you want, try cardstock and chipboard layers, too.
According to Stampin’ Up these are the most useful tricks for success when using your smaller machine (and I quote):
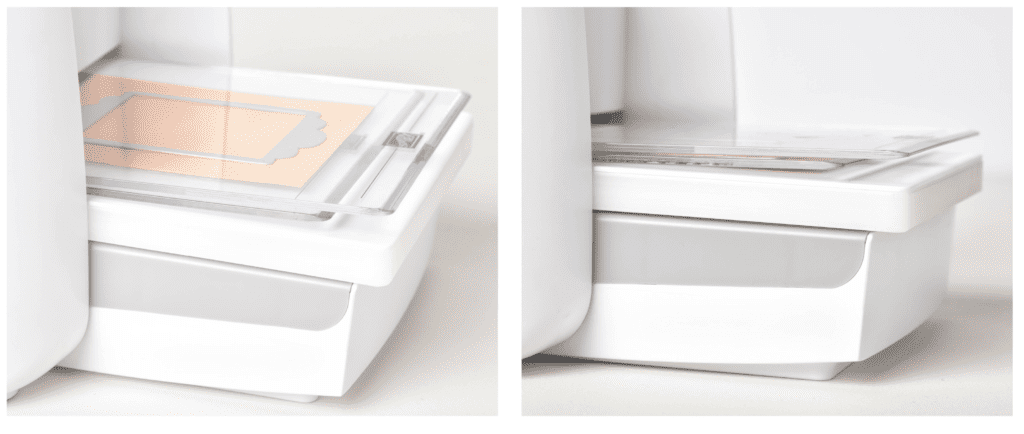
- TIP 1: Think “E” (see picture)
When positioning your cutting plates and folders on the machine’s platform, create the shape of a capital letter E, with the top and bottom plates extending longer than the middle section (on the side that’s feeding into the machine).
Why ‘E’? The uneven placement allows the top and bottom plates to bend in slightly, giving the machine a better opportunity to grip the plates. The ends of the plates are beveled to help with the gripping and staggering your plates will allow for even more success when running your sandwich through the machine. When placing your dies or embossing folders in your sandwich, make sure to place them between the two beveled ends. Giving the bevel room to work will help ensure success. Your embossing folders are intentionally created to be slightly shorter than the plates, all for this very reason, but a little extra wiggle room is never a bad idea.
- TIP 2: Stand n’ Crank
The lighter weight of the Mini Stampin’ Cut & Emboss Machine can cause it to feel less stable/anchored than the larger Stampin’ Cut & Emboss Machine. If you’re experiencing machine movement with use, consider standing up to use the tool. The added leverage created in this position can make all the difference. Also, make sure you’ve placed your machine somewhere that will allow the feet to grip the surface during use.
- TIP 3: Plate Play
If you find your plate placement isn’t cooperating, even with the “E” in effect, your machine simply has a really tight fit and this isn’t bad! But, if you’re struggling, you can try switching your base plate from the suggested Plate 1 to Plate 3. Users have reported that this slightest decrease in height and subsequent pressure can be just enough to make a difference. Making this exchange will not void the warranty, but there is a chance it could impact the quality of your cuts. Things to consider as you explore options and approaches.
New Best Friends: Washi Tape & Post It Notes

No matter what size machine you use, these two tools will assist you in your die placement during die cutting. Plates that have been run through a machine multiple times warp. This can make die placement tricky because they slip around on a curved surface. If you use a small piece of wash tape or a post it note to secure your die, the slippage and sliding will be eliminated. This technique is especially helpful when using stamp/die sets that coordinate. In order to line the die up over the stamped image, the washi tape or sticky note lets you cut without fear of the stamped image being wasted by a slipped die.
TIP: Make sure you avoid placing the sticky note or wash tape over a stamped image or inside the cutting area because the pressure will often lead to the adhesive pulling some of the paper away when removed.
There’s Embossing (and then there’s Embossing)
All kinds of embossing techniques are best suited to cardstock or thicker paper like watercolor paper . All of the techniques put demands on the paper that could shred, soak or burn a thinner craft paper. Here’s why:
DRY EMBOSSING
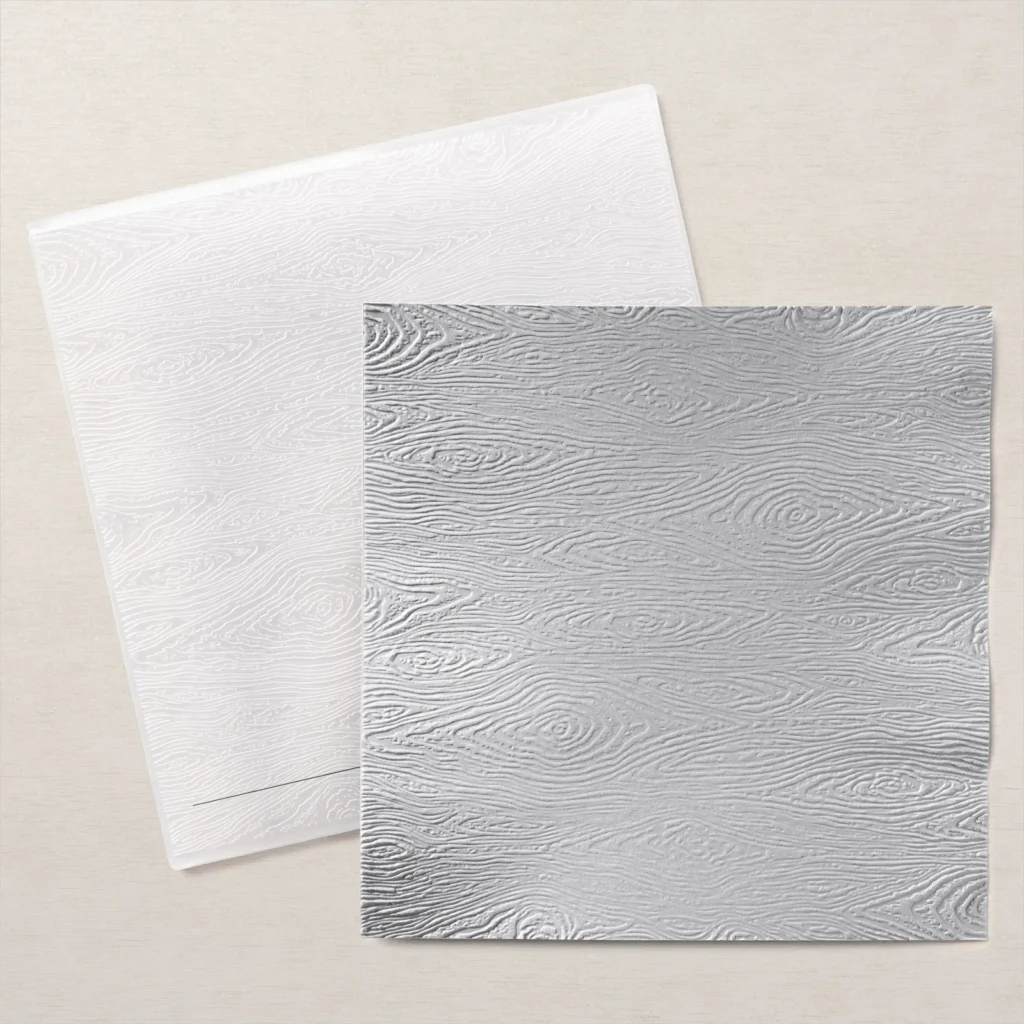
Dry embossing is done using an embossing folder and an Embossing Machine. The cardstock is slid into the folder and then a ‘sandwich’ is made using the plates. A raised impression from the folder is created on the cardstock with the pressure from the embossing machine which squeezed and compresses the paper between the layers of the folder.
TIP: Always feed the folder fold side first. Consider the thickness of your paper when embossing with a folder. If your paper is too thin you may need to add another piece to get the right pressure.
HEAT EMBOSSING
This is different than dry embossing and requires a variety of different tools but, not the embossing machine. A heat tool – similar to a crafty hair dryer- isvrequired to develop a raised effect (not so much an impression as with dry embossing).
TIP: The heat tools reach something like 350 degrees so be sure you’re protecting your hands by using a tool like tweezers or a clip board to hold the paper while using. Try heating the paper from underneath to achieve a gentler effect that won’t disperse your powder.
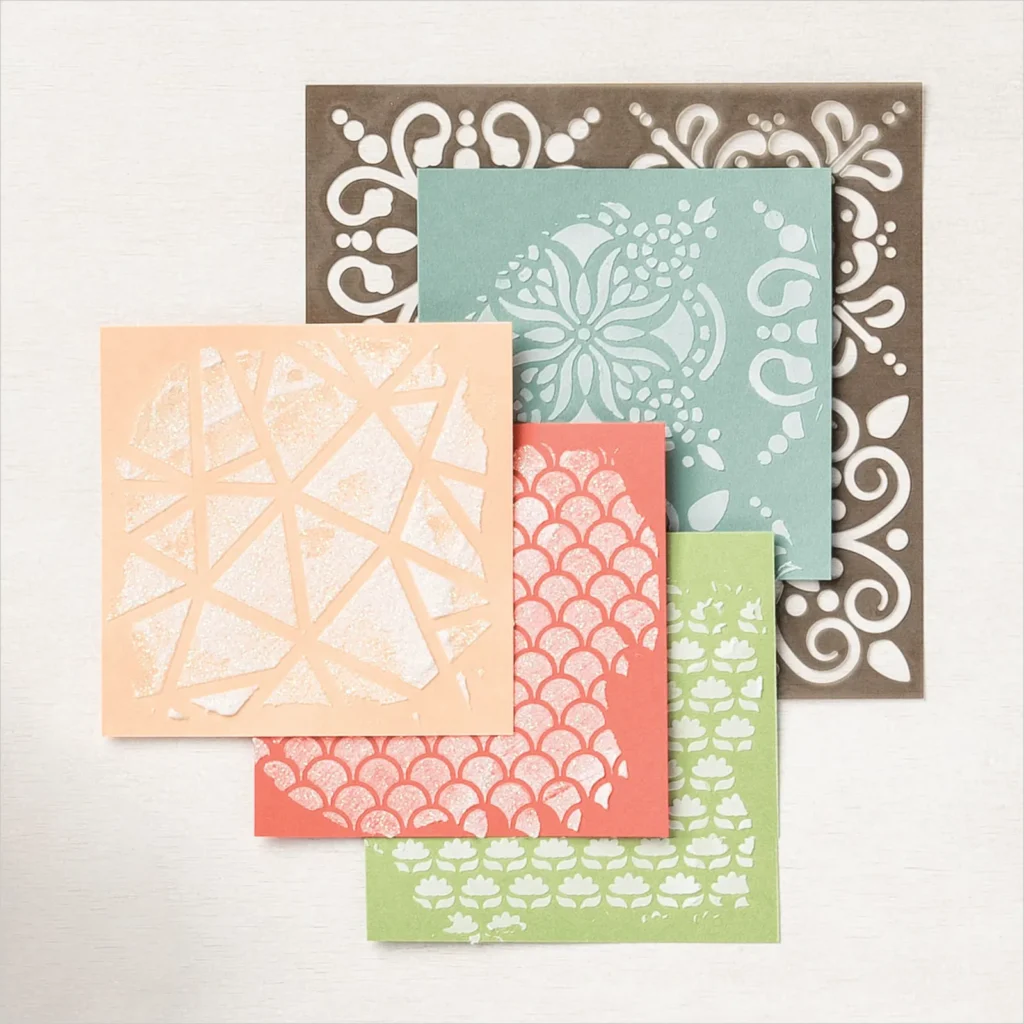
PASTE EMBOSSING
This does not require an embossing machine and is also quite different from the first two techniques. Stencils, palette knives and other accessories help mold a raised texture onto cardstock. While the names are similar and the resulting textures share similarities, the process to achieve each look is dramatically different.
TIP: Use a heat tool to speed up dry time of the paste. Add glitter, ink refills and more to the paste for fun new effects.
Where To Start
If you don’t already have your own embossing machine, Stampin’ Up has a variety of package options that include supplies. There is a level that fits your needs. Click the images below to find out more about how to get started with your own embossing machine today. Questions? Click the button below to drop me a line.